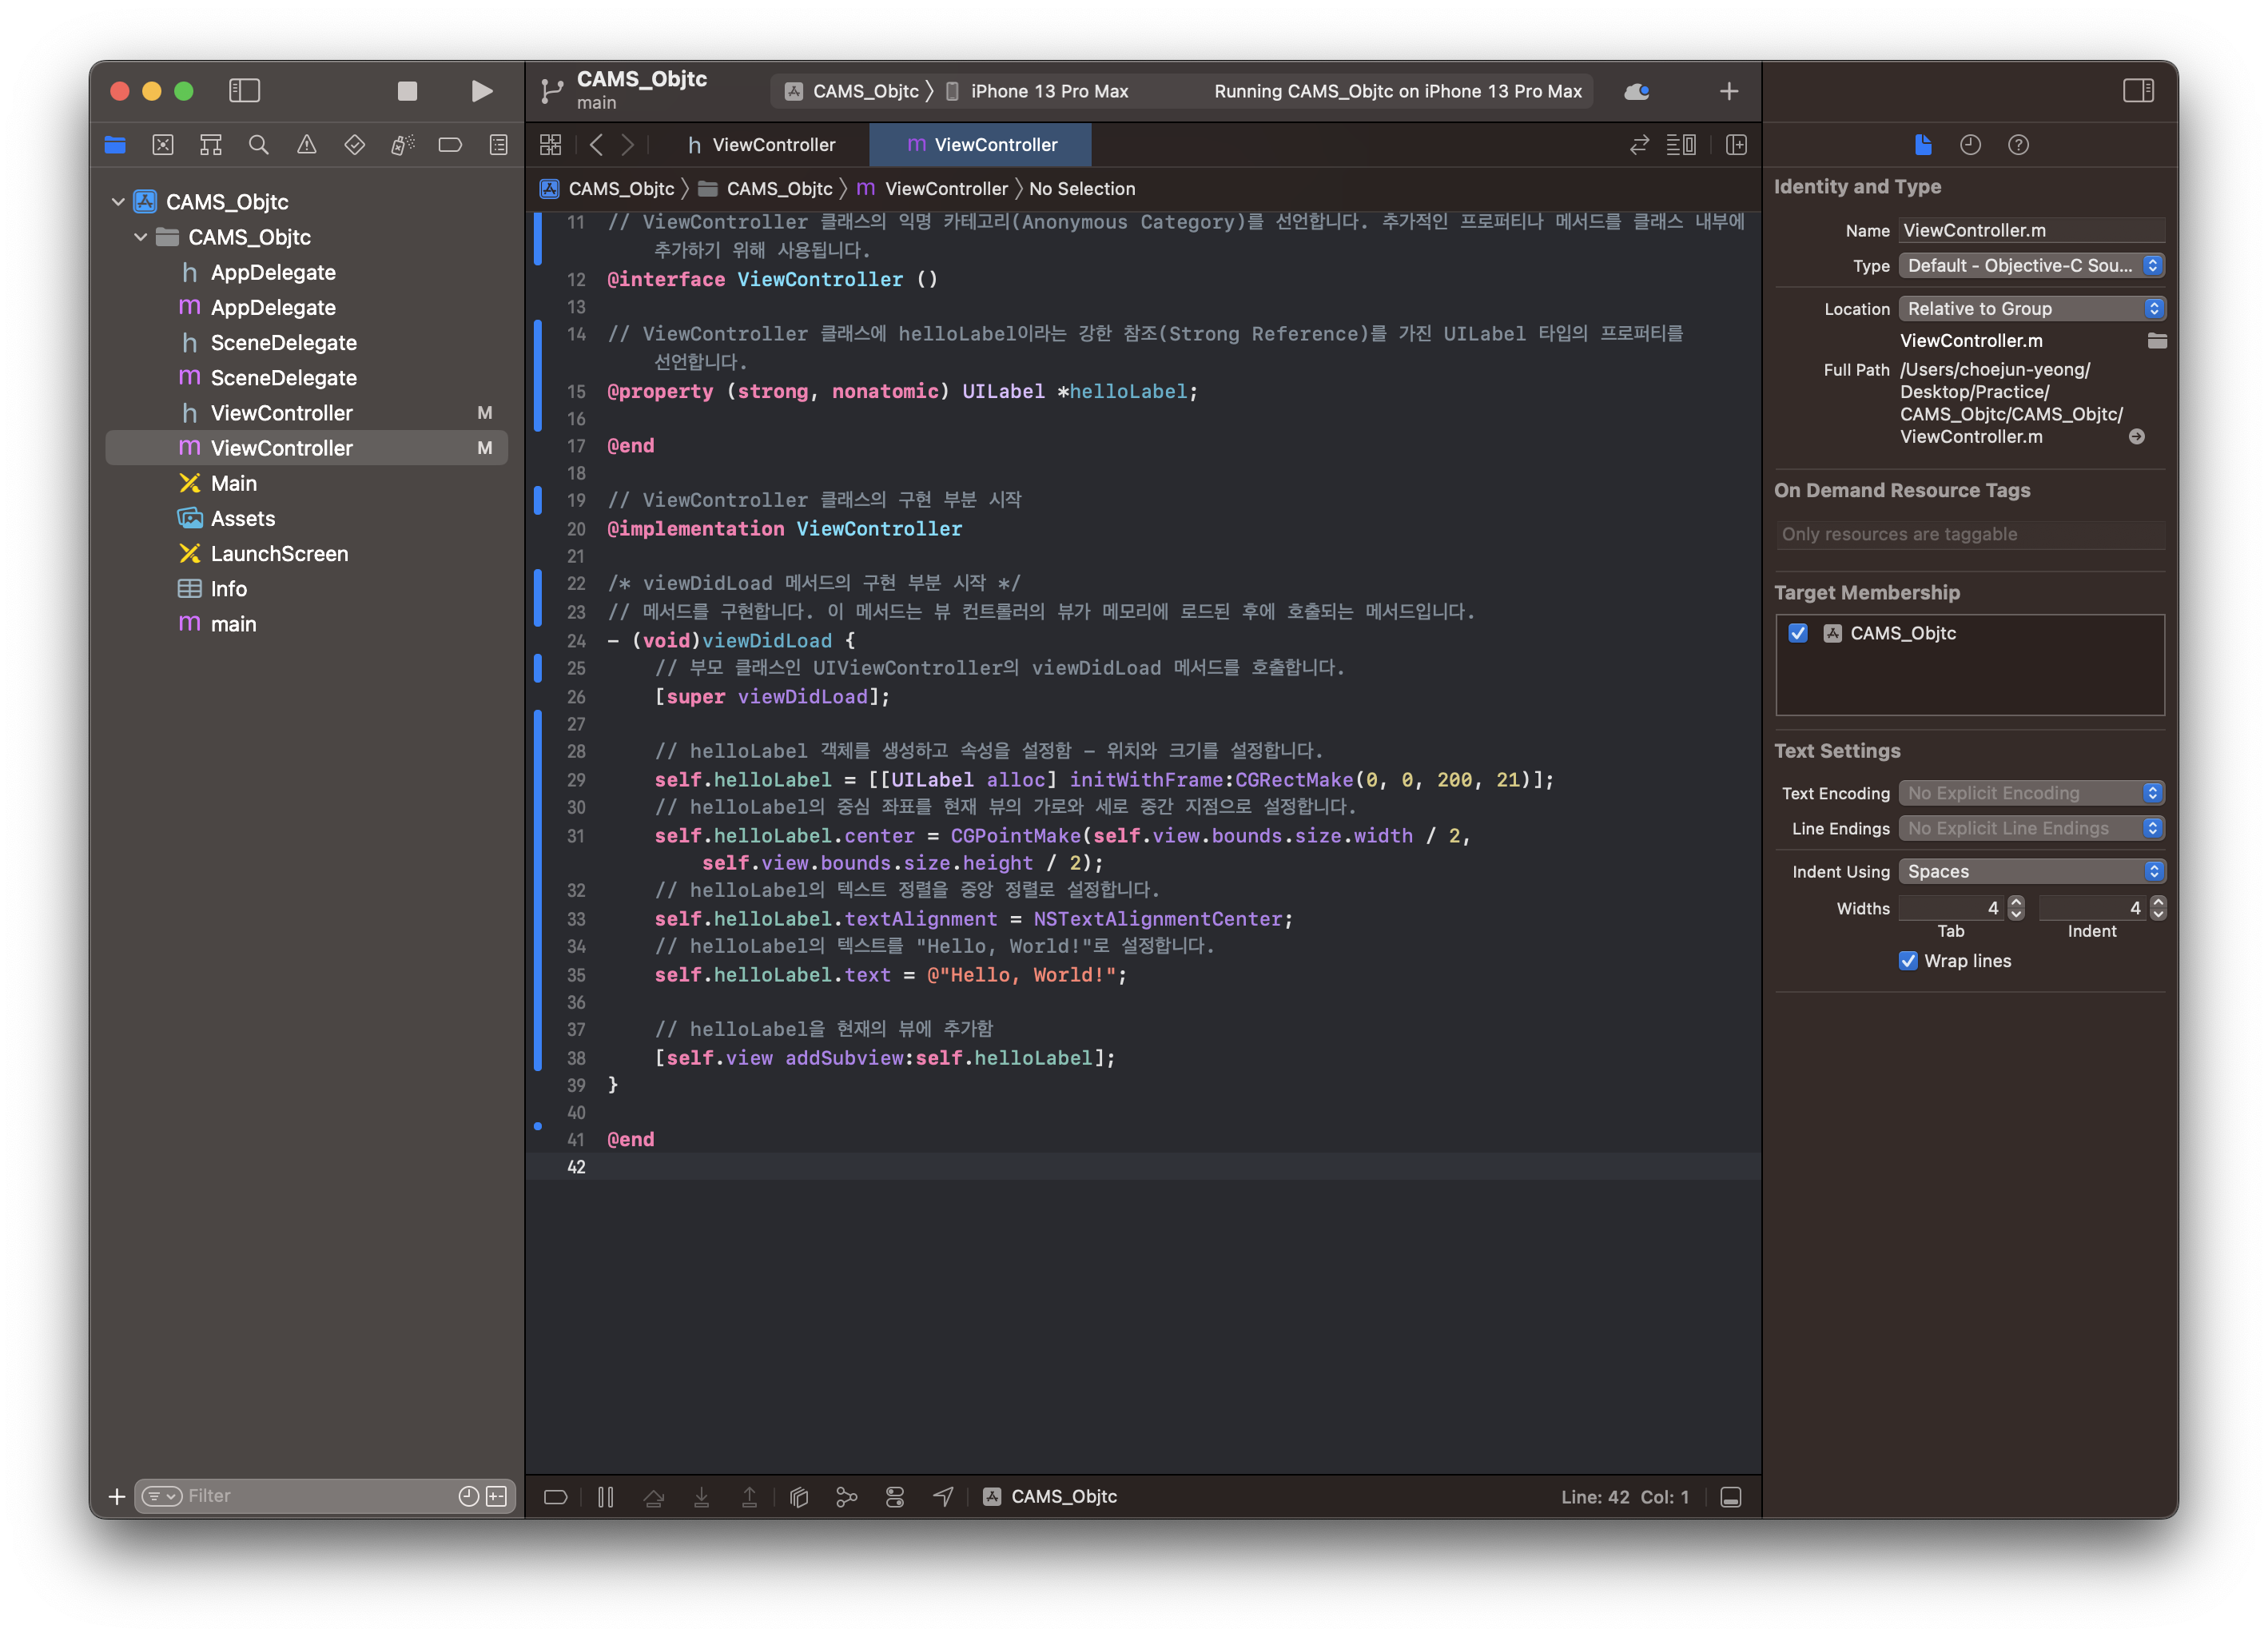
1. ViewControllder.m 파일 수정
// ViewController.h 파일을 import하여 해당 클래스의 정의를 가져옵니다.
#import "ViewController.h"

// ViewController 클래스의 익명 카테고리(Anonymous Category)를 선언합니다. 추가적인 프로퍼티나 메서드를 클래스 내부에 추가하기 위해 사용됩니다.
@interface ViewController ()

// ViewController 클래스에 helloLabel이라는 강한 참조(Strong Reference)를 가진 UILabel 타입의 프로퍼티를 선언합니다.
@property (strong, nonatomic) UILabel *helloLabel;

@end

// ViewController 클래스의 구현 부분 시작
@implementation ViewController

/* viewDidLoad 메서드의 구현 부분 시작 */
// 메서드를 구현합니다. 이 메서드는 뷰 컨트롤러의 뷰가 메모리에 로드된 후에 호출되는 메서드입니다.
- (void)viewDidLoad {
    // 부모 클래스인 UIViewController의 viewDidLoad 메서드를 호출합니다.
    [super viewDidLoad];

    // helloLabel 객체를 생성하고 속성을 설정함 - 위치와 크기를 설정합니다.
    self.helloLabel = [[UILabel alloc] initWithFrame:CGRectMake(0, 0, 200, 21)];
    // helloLabel의 중심 좌표를 현재 뷰의 가로와 세로 중간 지점으로 설정합니다.
    self.helloLabel.center = CGPointMake(self.view.bounds.size.width / 2, self.view.bounds.size.height / 2);
    // helloLabel의 텍스트 정렬을 중앙 정렬로 설정합니다.
    self.helloLabel.textAlignment = NSTextAlignmentCenter;
    // helloLabel의 텍스트를 "Hello, World!"로 설정합니다.
    self.helloLabel.text = @"Hello, World!";

    // helloLabel을 현재의 뷰에 추가함
    [self.view addSubview:self.helloLabel];
}

@end
2. ViewControllder.h 파일 확인
// UIKit 프레임워크의 헤더 파일을 import합니다. UIKit은 iOS 애플리케이션 개발에 필요한 다양한 클래스와 기능을 제공합니다.
#import <UIKit/UIKit.h>

// ViewController 클래스를 선언하고, 이 클래스가 UIViewController 클래스를 상속받음을 나타냅니다. 즉, ViewController 클래스는 iOS 애플리케이션의 뷰 컨트롤러 역할을 수행할 것입니다.
@interface ViewController : UIViewController

@end
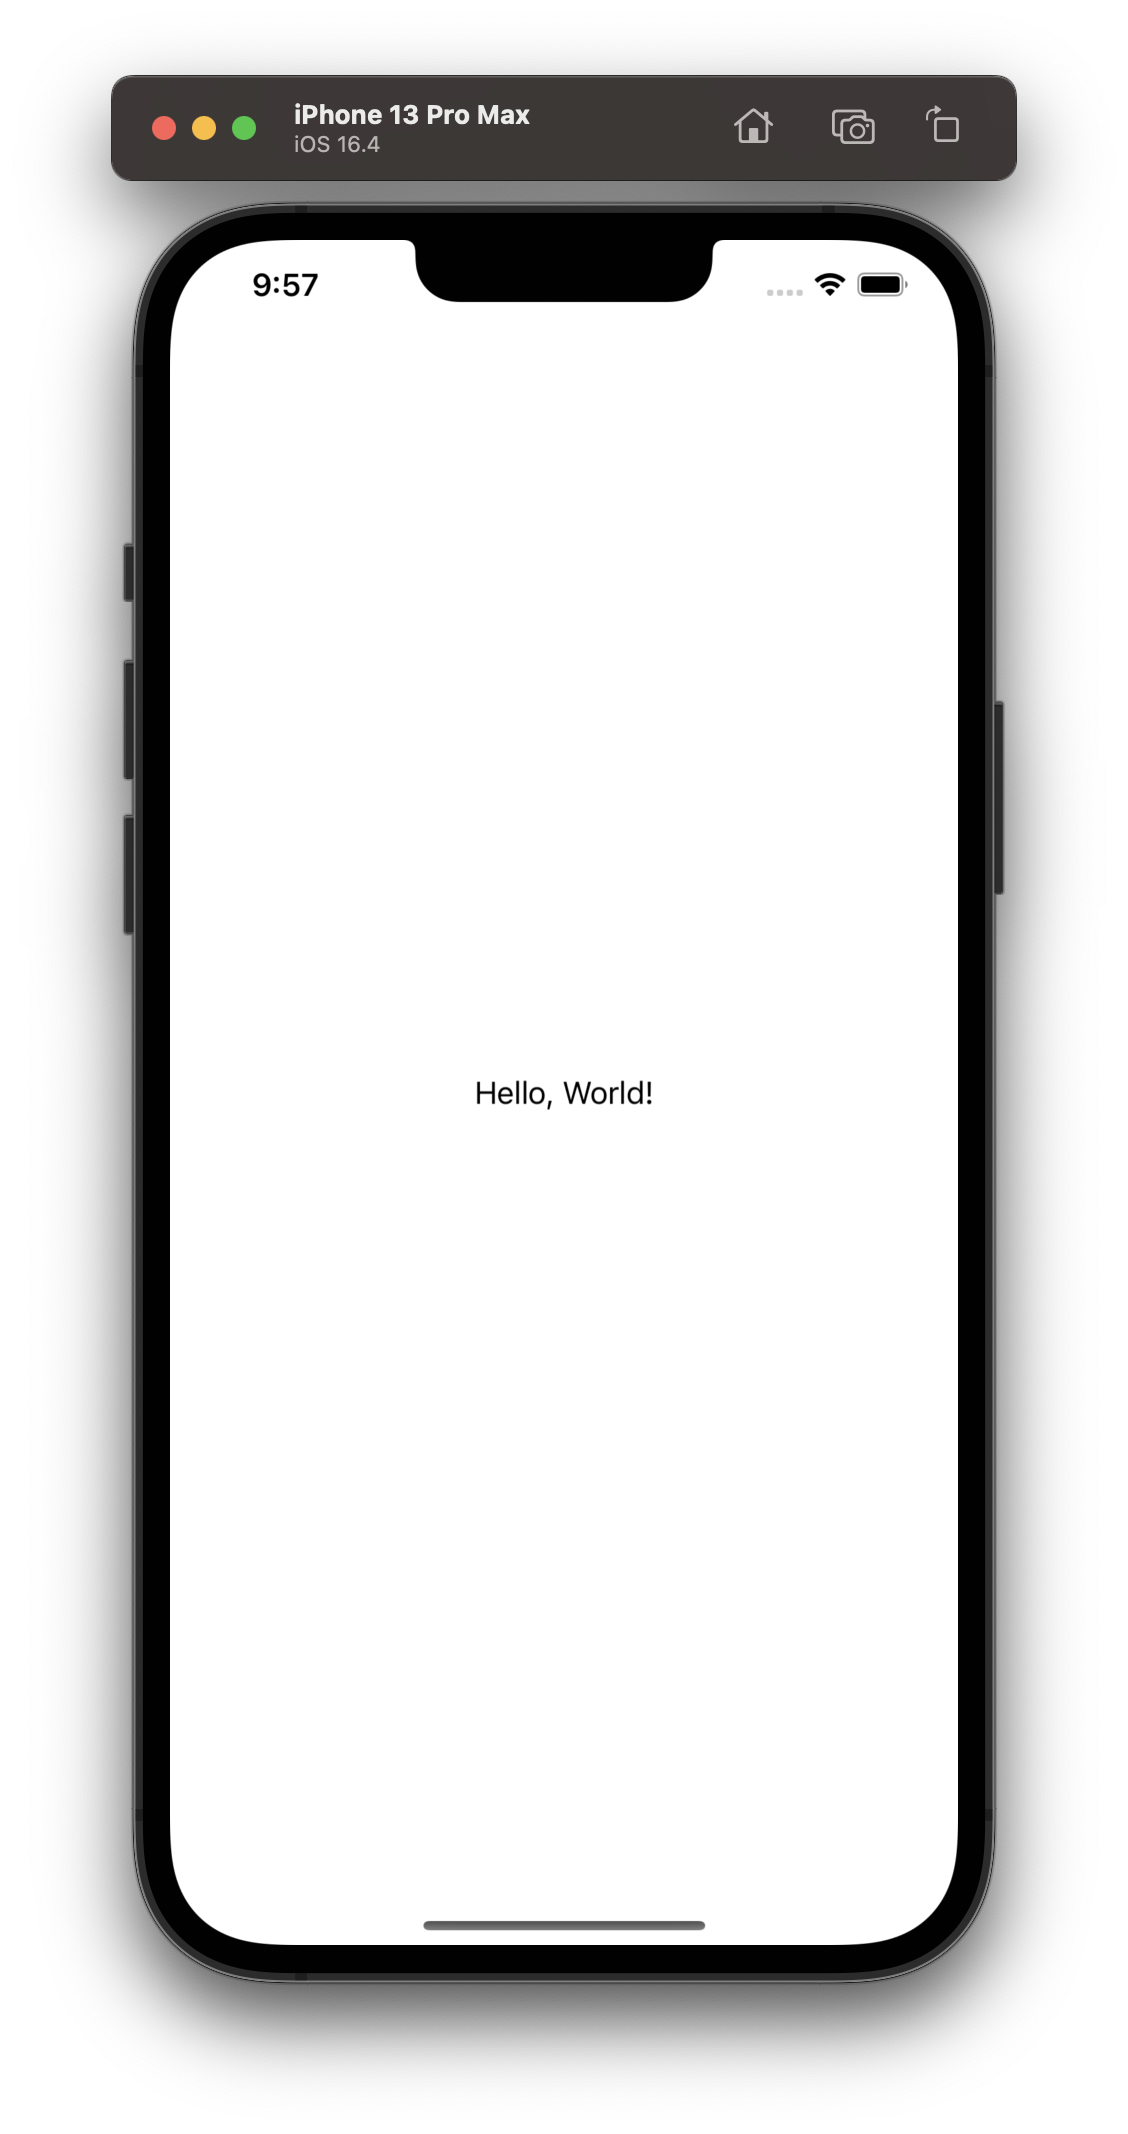
3. 결과

4. 이것저것 수정해보고 결과 확인하기 - initWithFrame:CGRectMake 수치 변경해보기
// 기존
    // helloLabel 객체를 생성하고 속성을 설정함 - 위치와 크기를 설정합니다.
    self.helloLabel = [[UILabel alloc] initWithFrame:CGRectMake(0, 0, 200, 21)];

// 변경후
    // helloLabel 객체를 생성하고 속성을 설정함 - 위치와 크기를 설정합니다.
    self.helloLabel = [[UILabel alloc] initWithFrame:CGRectMake(0, 0, 50, 21)];

// 기존
    // helloLabel 객체를 생성하고 속성을 설정함 - 위치와 크기를 설정합니다.
    self.helloLabel = [[UILabel alloc] initWithFrame:CGRectMake(0, 0, 200, 21)];

// 변경후
    // helloLabel 객체를 생성하고 속성을 설정함 - 위치와 크기를 설정합니다.
    self.helloLabel = [[UILabel alloc] initWithFrame:CGRectMake(0, 0, 200, 11)];
5. 이것저것 수정해보고 결과 확인하기 - self.helloLabel.center = CGPointMake 수치 변경해보기
가로, 세로 중간이 아니라 가로 1/3지점, 세로 1/6지점으로 변경해보았습니다.
가로는 왼쪽에서부터, 세로는 위에서부터 길이가 측정됩니다.
// 기존
    // helloLabel의 중심 좌표를 현재 뷰의 가로와 세로 중간 지점으로 설정합니다.
    self.helloLabel.center = CGPointMake(self.view.bounds.size.width / 2, self.view.bounds.size.height / 2);

// 변경 후
    // helloLabel의 중심 좌표를 현재 뷰의 가로와 세로 중간 지점으로 설정합니다.
    self.helloLabel.center = CGPointMake(self.view.bounds.size.width / 3, self.view.bounds.size.height / 6);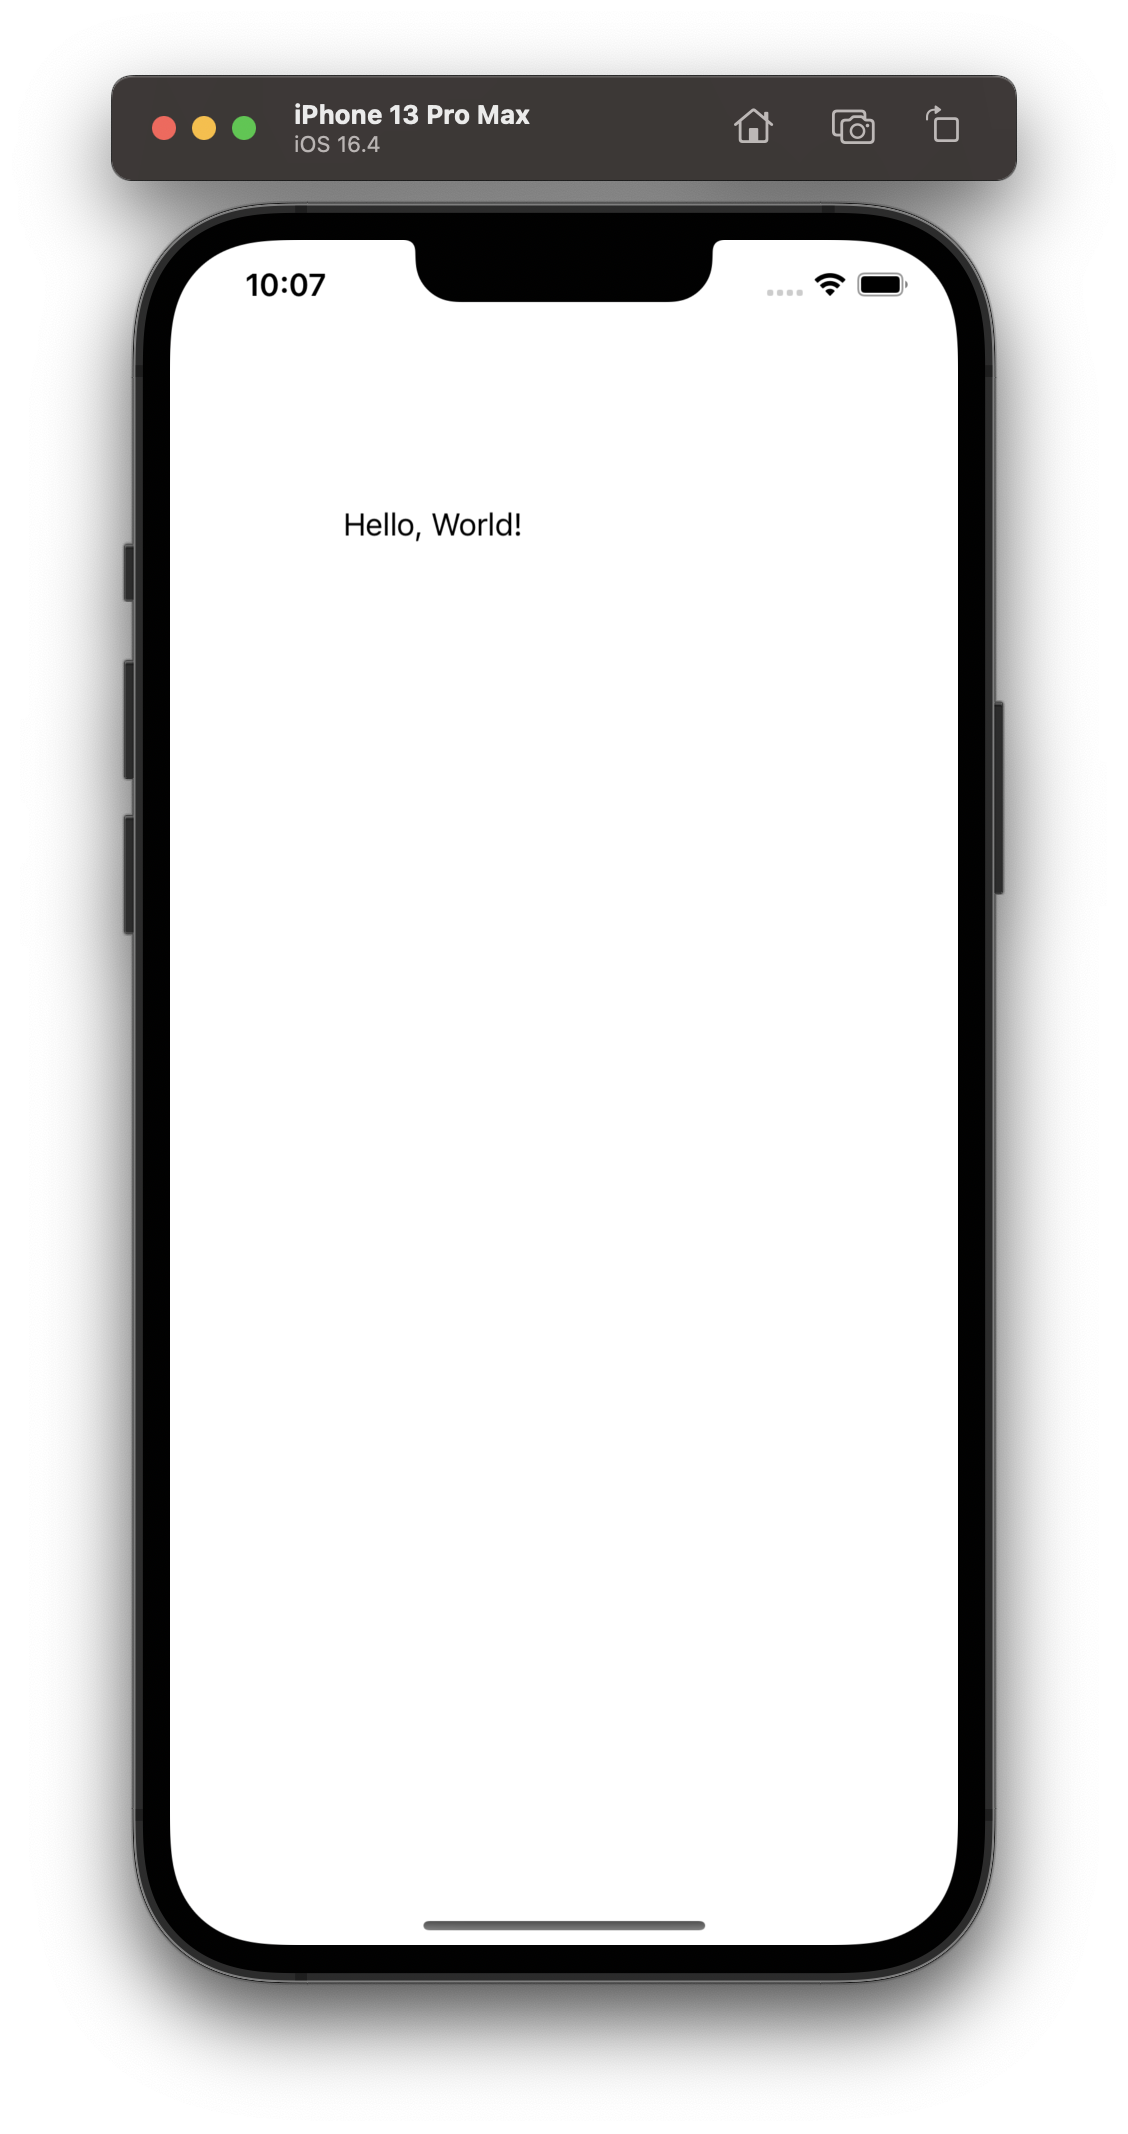
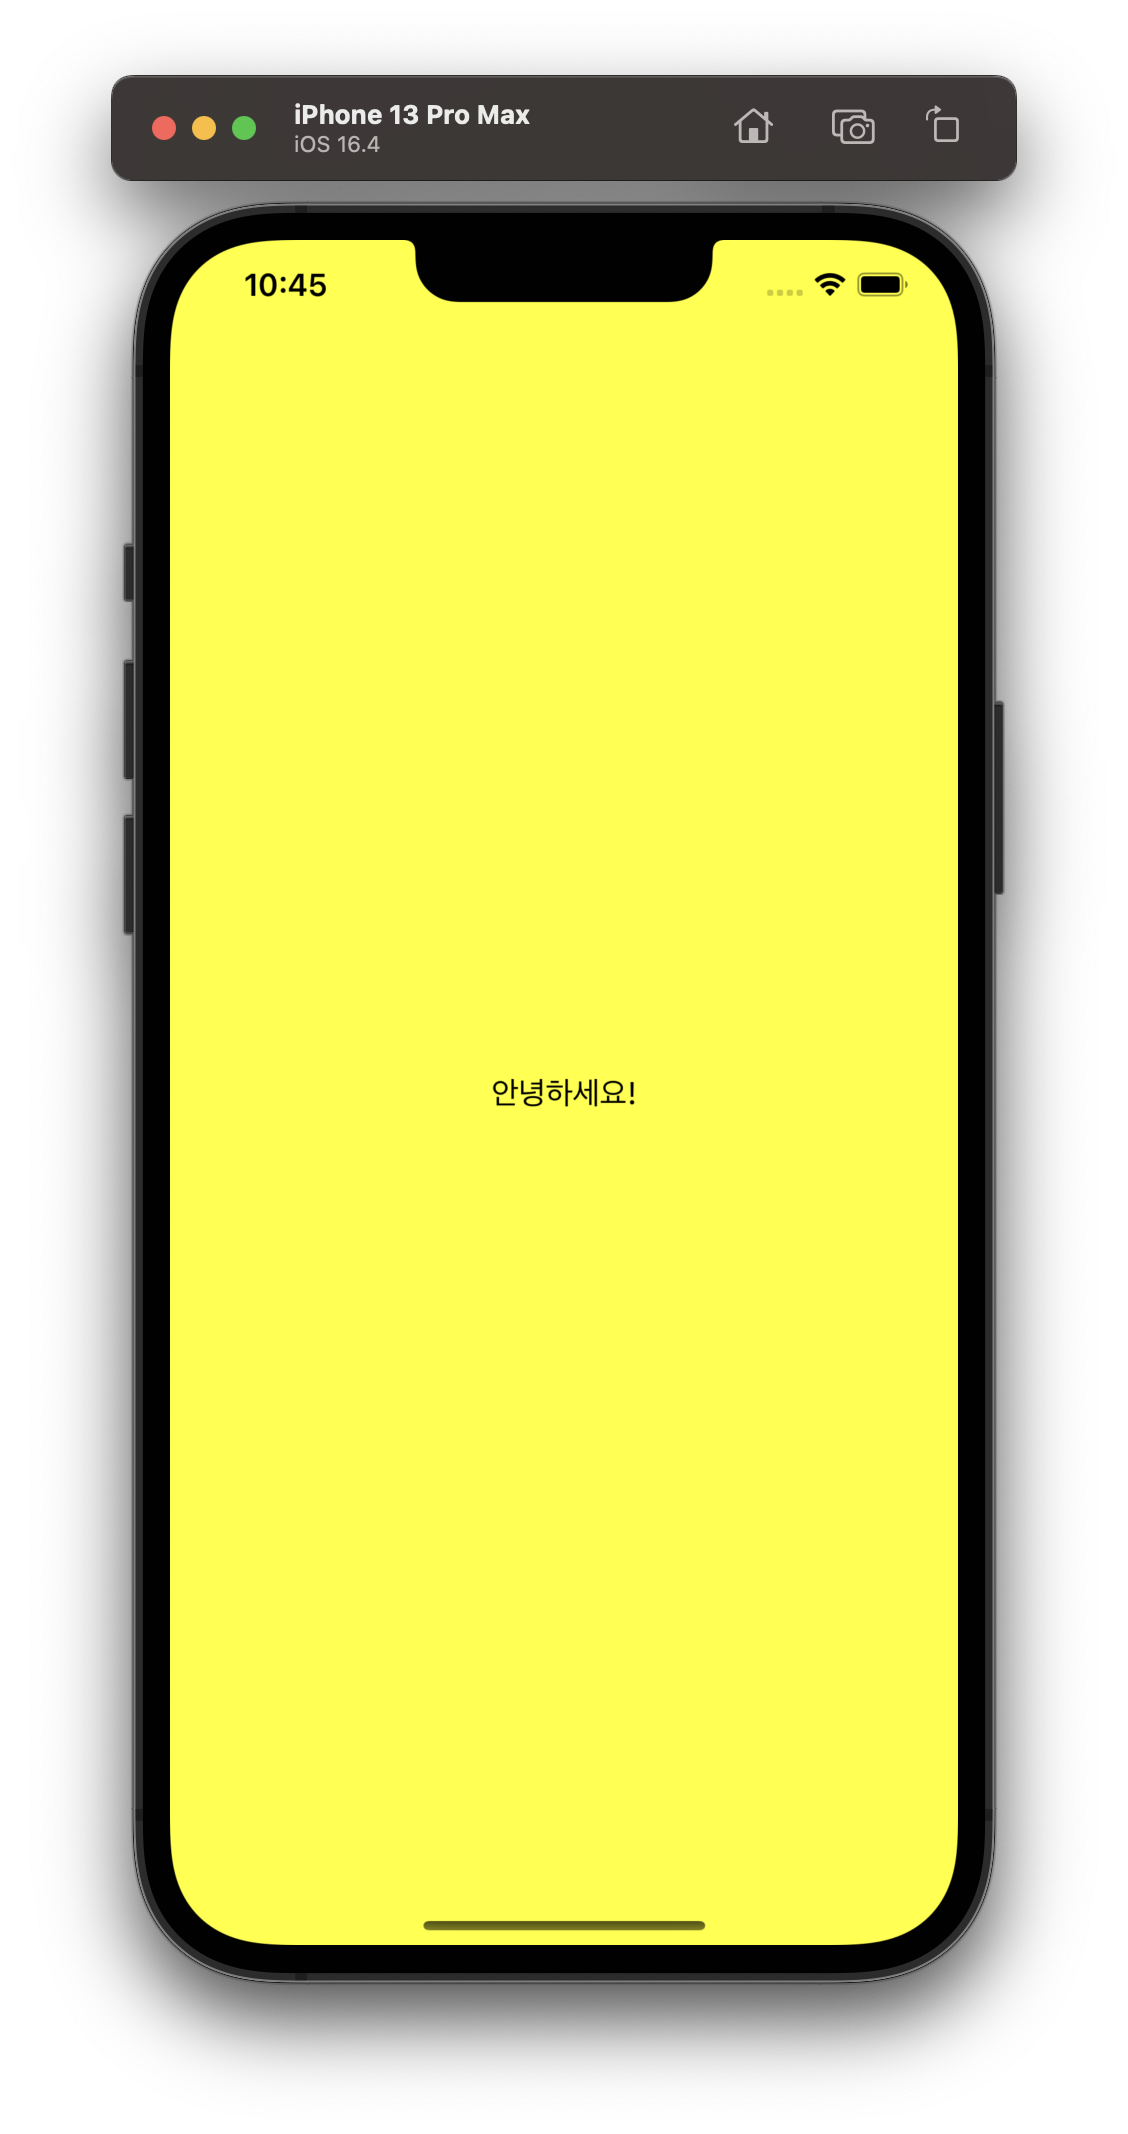
6. 다른 예시 프로젝트 : ViewController.m 수정
// ViewController.h 파일을 import하여 해당 클래스의 정의를 가져옵니다.
#import "ViewController.h"

// ViewController 클래스의 구현 부분 시작
@implementation ViewController

// viewDidLoad 메서드의 구현 부분 시작, 이 메서드는 뷰 컨트롤러의 뷰가 메모리에 로드된 후에 호출되는 메서드입니다.
- (void)viewDidLoad {
    [super viewDidLoad];
    // 뷰의 배경 색상 변경
    self.view.backgroundColor = [UIColor yellowColor];

    // UILabel 생성 및 설정
    UILabel *helloLabel = [[UILabel alloc] initWithFrame:CGRectMake(0, 0, self.view.frame.size.width, 50)];

    helloLabel.text = @"안녕하세요!";
    helloLabel.textAlignment = NSTextAlignmentCenter;
    helloLabel.center = self.view.center;

    // 뷰에 레이블 추가
    [self.view addSubview:helloLabel];
}

@end
'Development > iOS' 카테고리의 다른 글
| [Objective-C] 프로젝트 기본 세팅 소스코드 예시 (0) | 2023.06.15 |
|---|---|
| [Objective-C] 입문하기 - 03 : 버튼 만들고, 누르면 alert 창 뜨게 하는 앱 만들기 (0) | 2023.06.15 |
| [Objective-C] 입문하기 - 01 : 기본적인 코드 짜서 메소드 만들고 활용해 콘솔에 의도대로 출력해보기 (0) | 2023.06.09 |
| [SwiftUI] Api 연결 소스코드 예시 - Method : POST (0) | 2023.05.21 |
| [SwiftUI] Api 통신 연결 소스코드 예시 - Method : GET (0) | 2023.05.16 |