1. (신규 프로젝트 생성) Use Core Data로 프로젝트 생성하기 (이미 있는 프로젝트에서 Core Data를 사용하려면 2번으로 이동)
Use Data 선택 후 생성

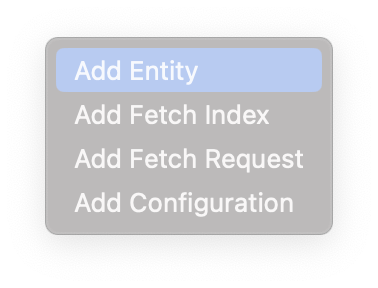
2. xcodemodel 설정 확인하기

3. 설정 추가하기
import SwiftUI

// Model Set
struct Animal : Identifiable {
    var id: Int
    var name: String
    var imageName: String

    subscript(key: String) -> Int {
        switch key {
        case "id" :
            return id
        default :
            return 0
        }
    }

}


// Data 가져오기

let animals: [Animal] = [
    Animal(id:1, name:"cat", imageName:"building"),
    Animal(id:2, name:"dog", imageName:"house"),
    Animal(id:3, name:"monkey", imageName:"bolt"),
    Animal(id:4, name:"snake", imageName:"newspaper")
]


// View

struct ContentView: View {
    var body: some View {

        List(animals) { animal in
            Section {
                VStack {
                    Button {
                        print("hello")
                    } label: {
                        Image(systemName: animal.imageName)
                        HStack {
                            Image(systemName: animal.imageName)
                            Text(animal.name)
                                .padding(.horizontal, 20)
                        }
                        Image(systemName: animal.imageName)
                    }
                }
            } header: {
                Text("Each Animal")
            } footer: {
                Text("Animal End")
            }
        }

    }
}

struct ContentView_Previews: PreviewProvider {
    static var previews: some View {
        ContentView()
    }
}
2. data model 생성
New File -> Core Data의 "Data Mpdel"


3. Attridute 만들기
Attribute는 DB의 column과 유사합니다.


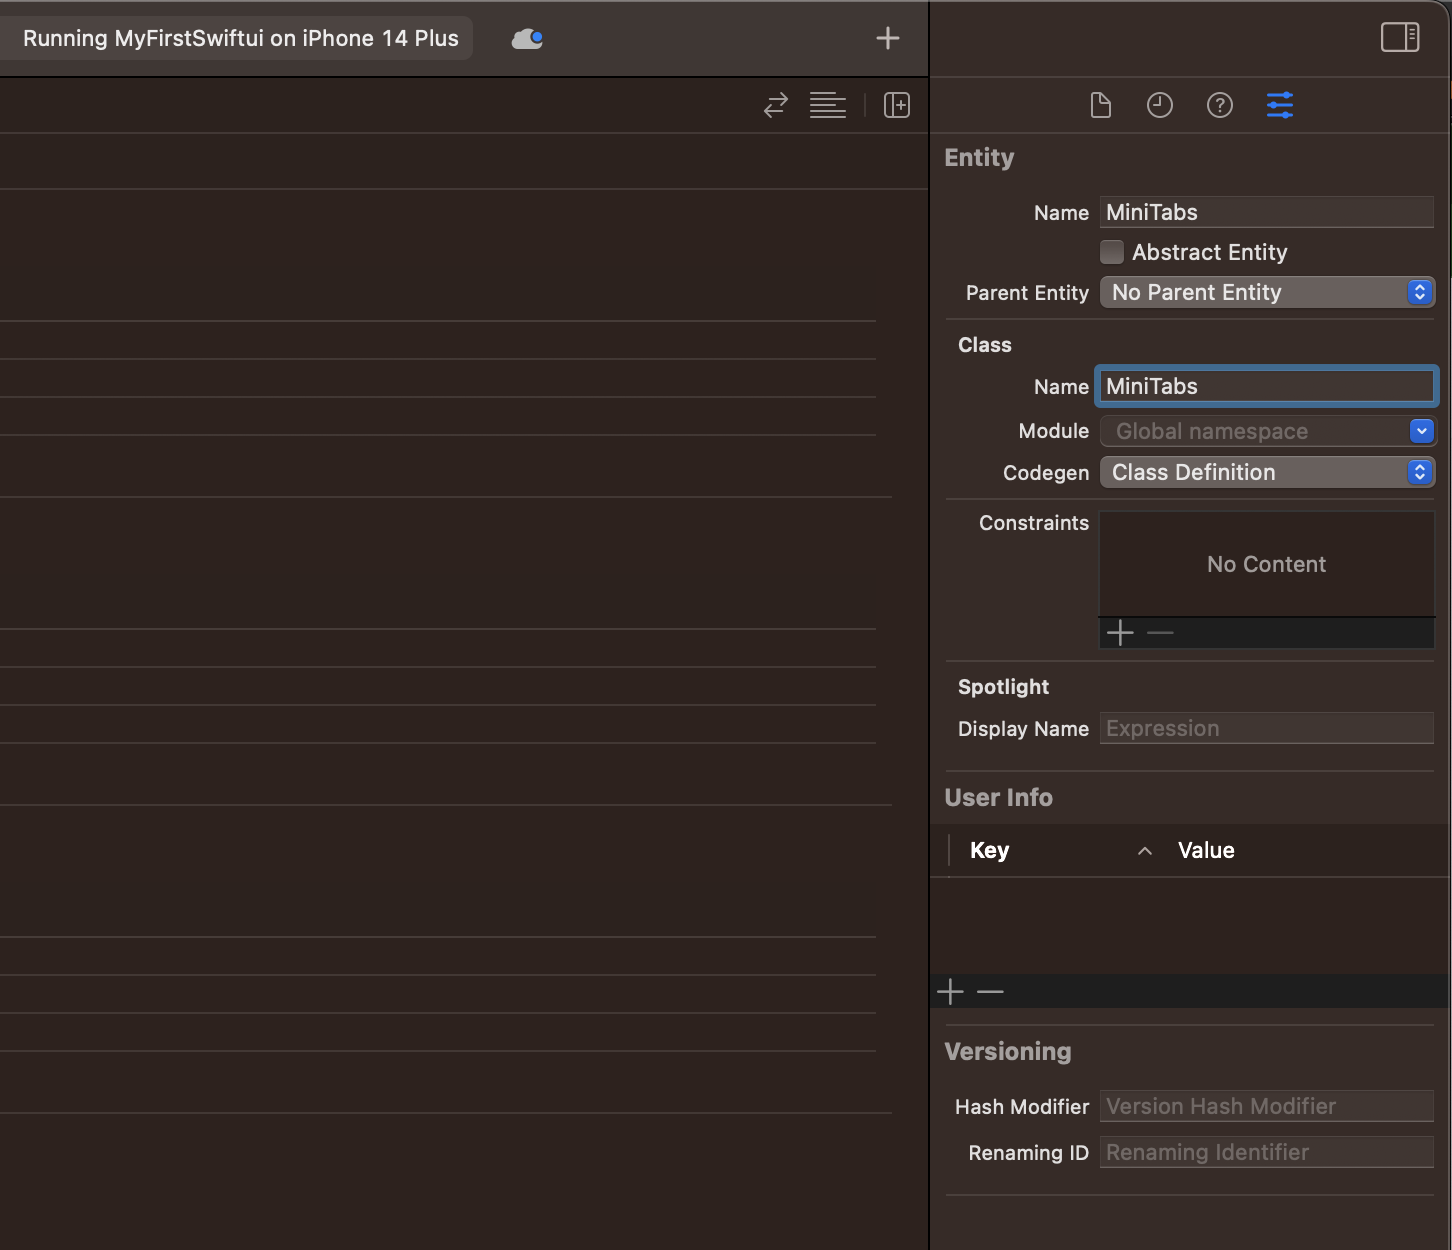
4. Inspector에서 Entity와 Class의 name 수정 및 codegen을 Manual/None으로 설정


5. XCode -> Editor -> Create NSManagedObject Subclass...


MyFirstSwiftui_20230307_1721.zip
0.11MB