Development/iOS
[SwiftUI] Text 출력하고 HStack, VStack, ZStack 활용하기
Best Junior
2023. 2. 7. 22:36
1. 사전 참고 사항 : 색 커스터마이징
색 커스터마이징 관련 내용은 아래 페이지에서 확인 가능합니다.
https://growingsaja.tistory.com/754
[SwiftUI] apple 지원 아이콘 불러오기, 색/크기 조정, 도형 만들고 모양 변형하기
1. 다양한 아이콘 사용 가능 - 다양한 symbol 사용 가능 최신 버전 설치 방법 https://developer.apple.com/sf-symbols/ SF Symbols - Apple Developer With nearly 4,500 symbols, SF Symbols is a library of iconography designed to integrate s
growingsaja.tistory.com
import SwiftUI


// ColorExtentsion.swift
extension Color {
  init(hex: String) {
    let scanner = Scanner(string: hex)
    _ = scanner.scanString("#")

    var rgb: UInt64 = 0
    scanner.scanHexInt64(&rgb)

    let r = Double((rgb >> 16) & 0xFF) / 255.0
    let g = Double((rgb >>  8) & 0xFF) / 255.0
    let b = Double((rgb >>  0) & 0xFF) / 255.0
    self.init(red: r, green: g, blue: b)
  }
}


//원하는 컬러 생성
extension Color {

    static let peach = Color(hex: "#ff8882")
    static let ivory = Color(hex: "f8ede3")
    static let skyblue = Color(hex: "F2FAFF")
    static let skyred = Color(hex: "FFF5F5")
    static let brown = Color(hex: "897853")  // #을 제거하고 사용해도 됩니다.
}
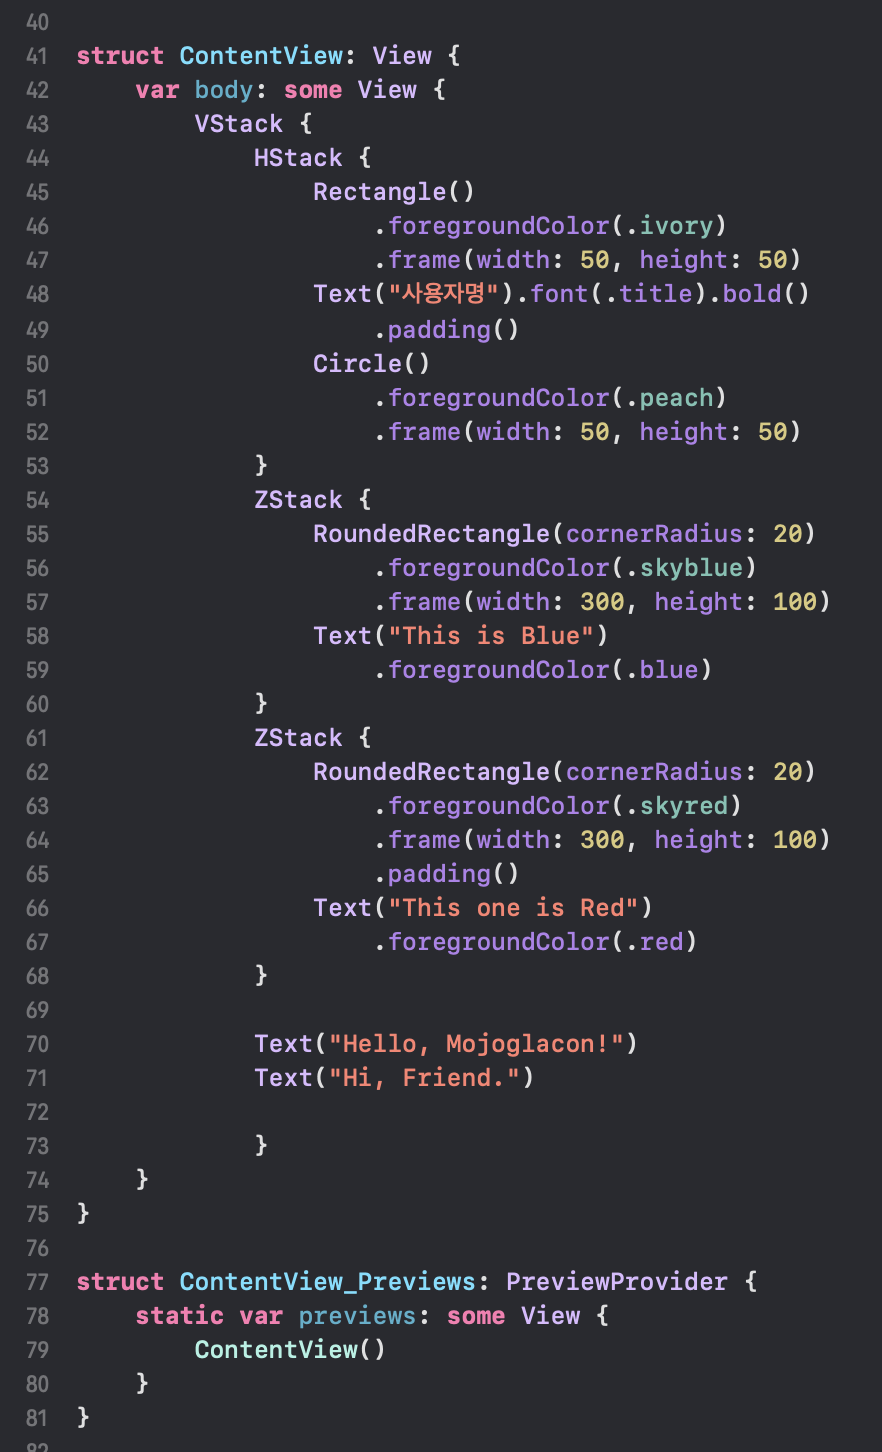
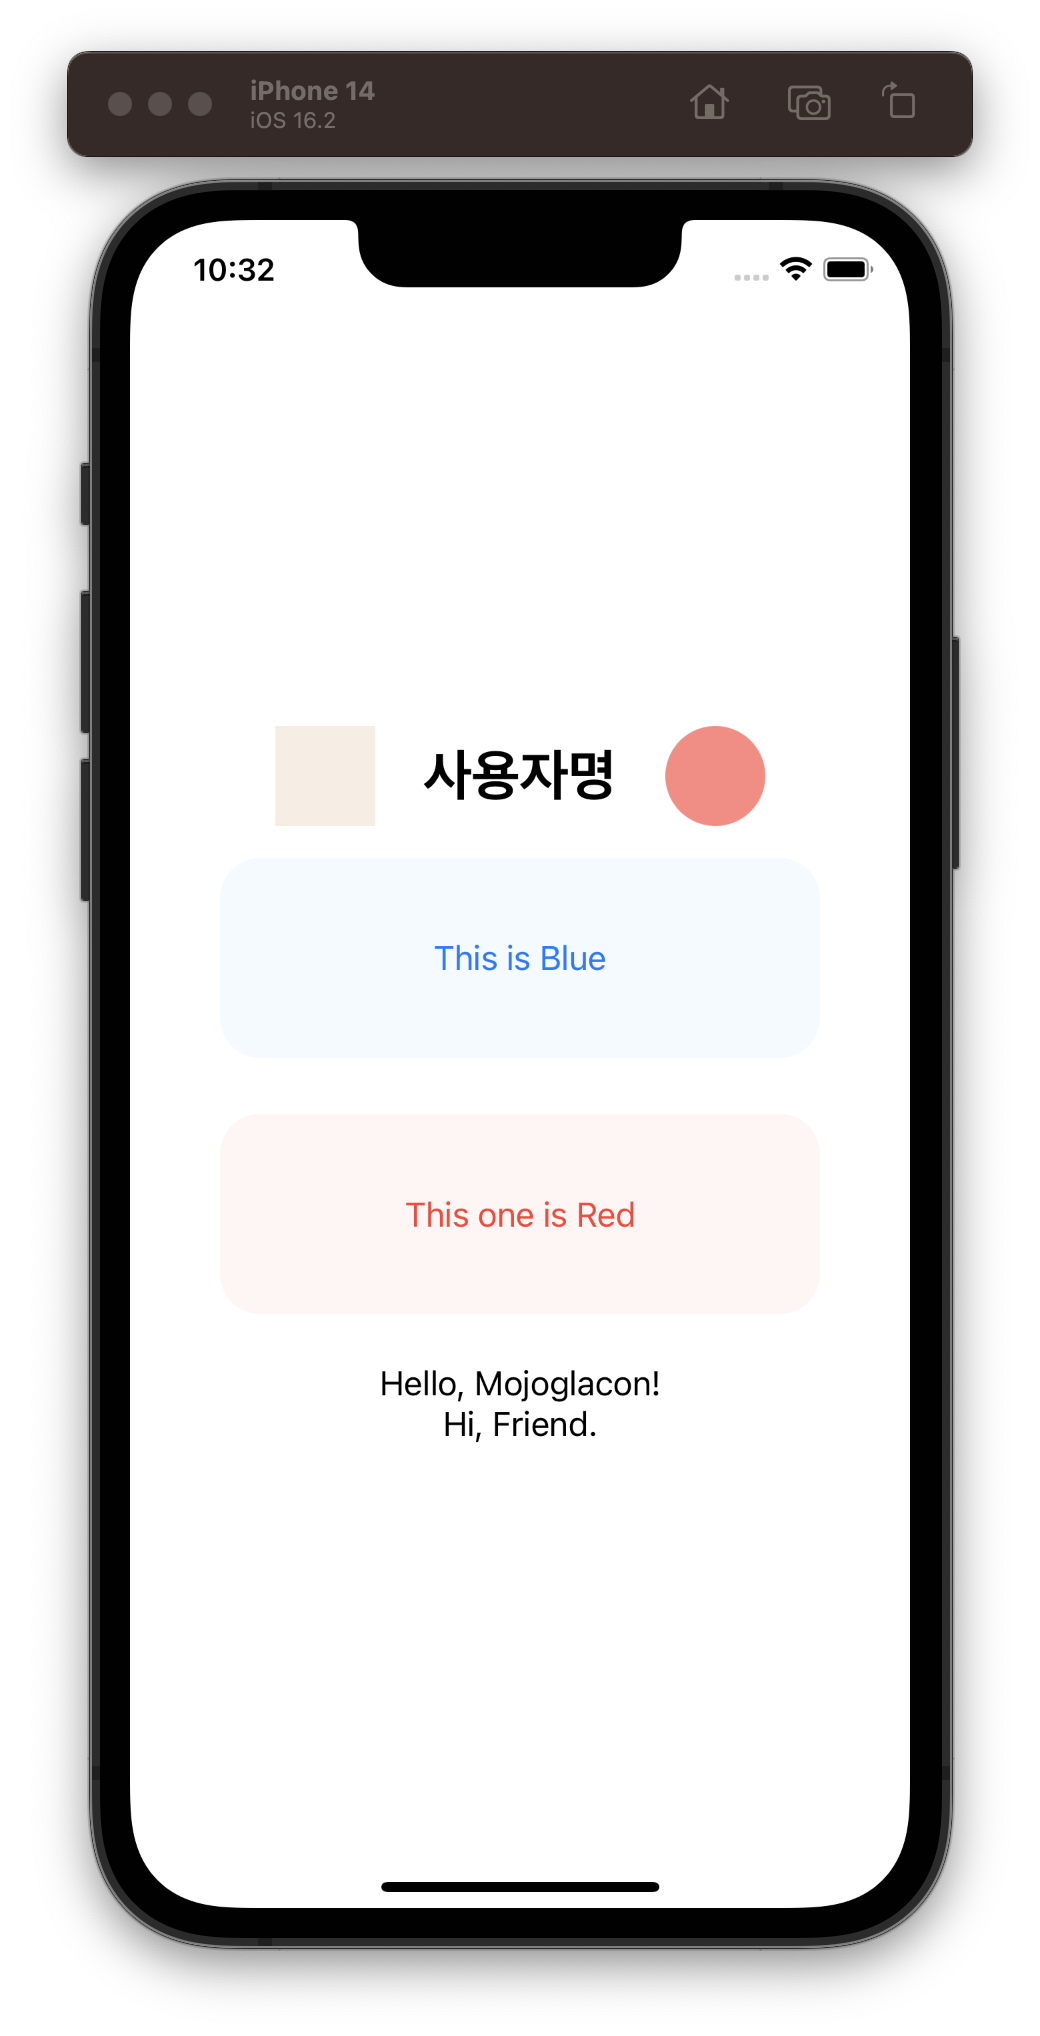
2. 도형과 텍스트 적절히 배치해 각종 스택 적용하기 예시
struct ContentView: View {
    var body: some View {
        VStack {
            HStack {
                Rectangle()
                    .foregroundColor(.ivory)
                    .frame(width: 50, height: 50)
                Text("사용자명").font(.title).bold()
                    .padding()
                Circle()
                    .foregroundColor(.peach)
                    .frame(width: 50, height: 50)
            }
            ZStack {
                RoundedRectangle(cornerRadius: 20)
                    .foregroundColor(.skyblue)
                    .frame(width: 300, height: 100)
                Text("This is Blue")
                    .foregroundColor(.blue)
            }
            ZStack {
                RoundedRectangle(cornerRadius: 20)
                    .foregroundColor(.skyred)
                    .frame(width: 300, height: 100)
                    .padding()
                Text("This one is Red")
                    .foregroundColor(.red)
            }

            Text("Hello, Mojoglacon!")
            Text("Hi, Friend.")

            }
    }
}

struct ContentView_Previews: PreviewProvider {
    static var previews: some View {
        ContentView()
    }
}
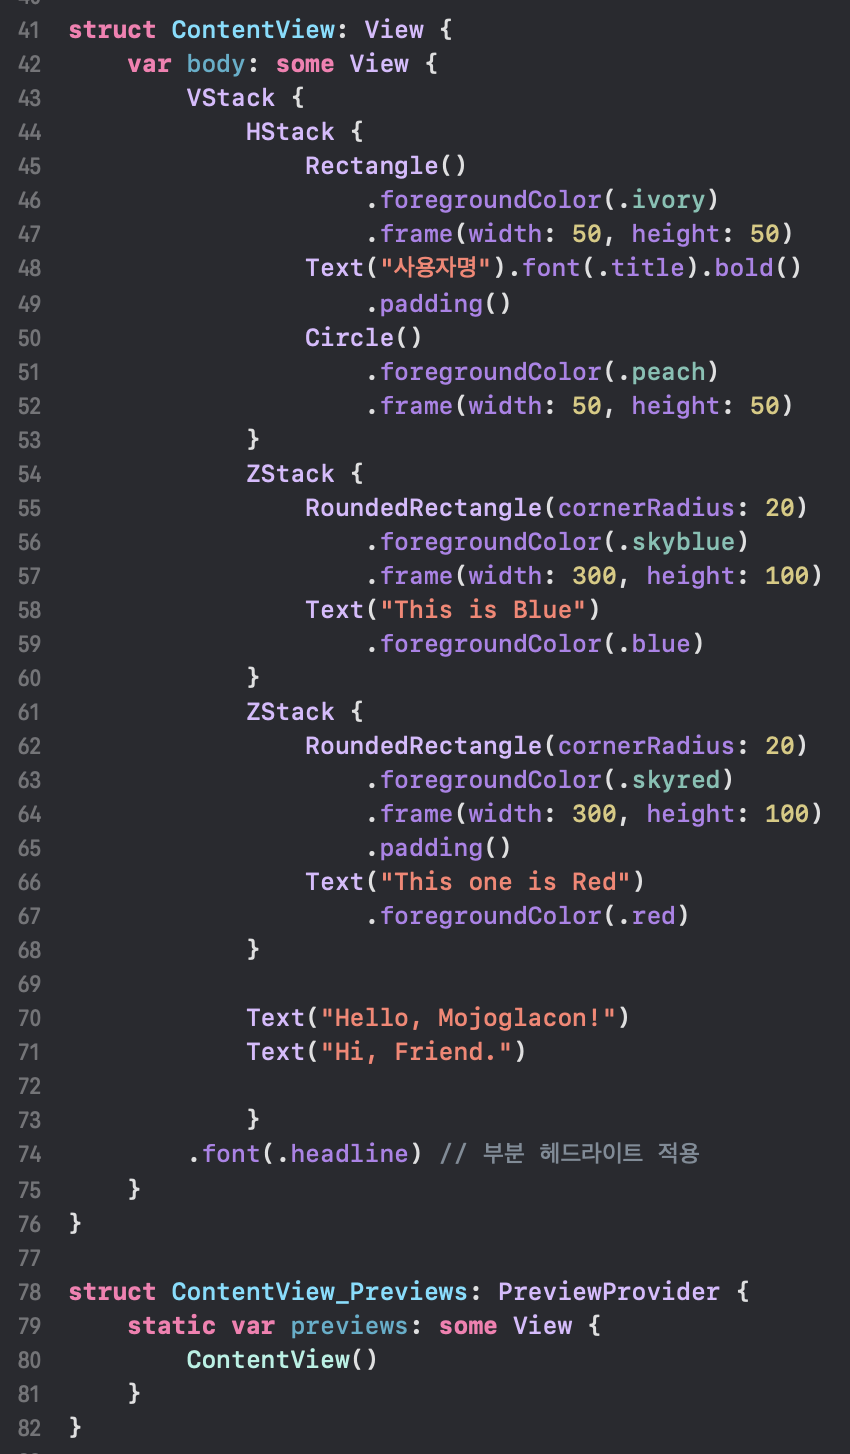
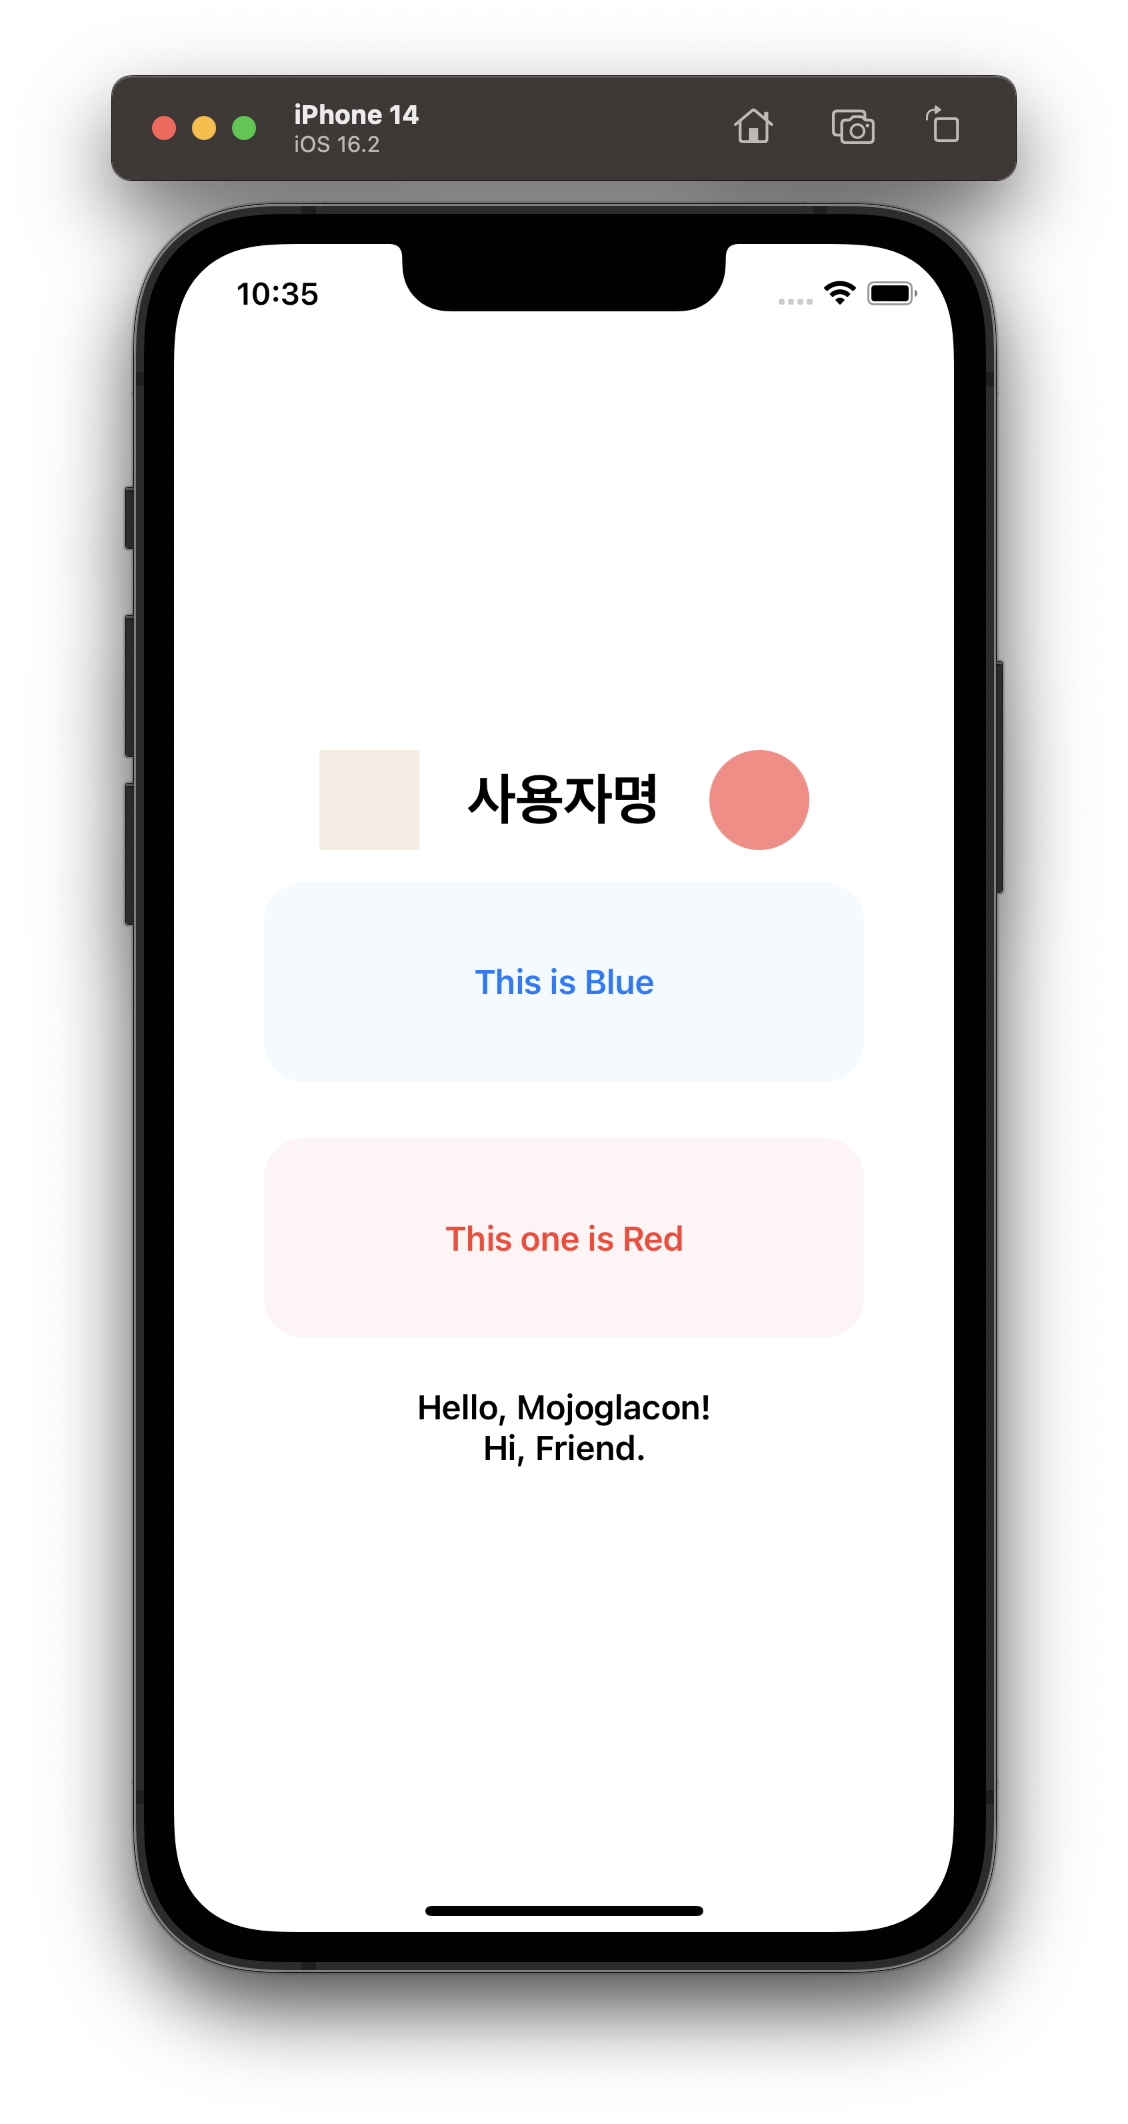
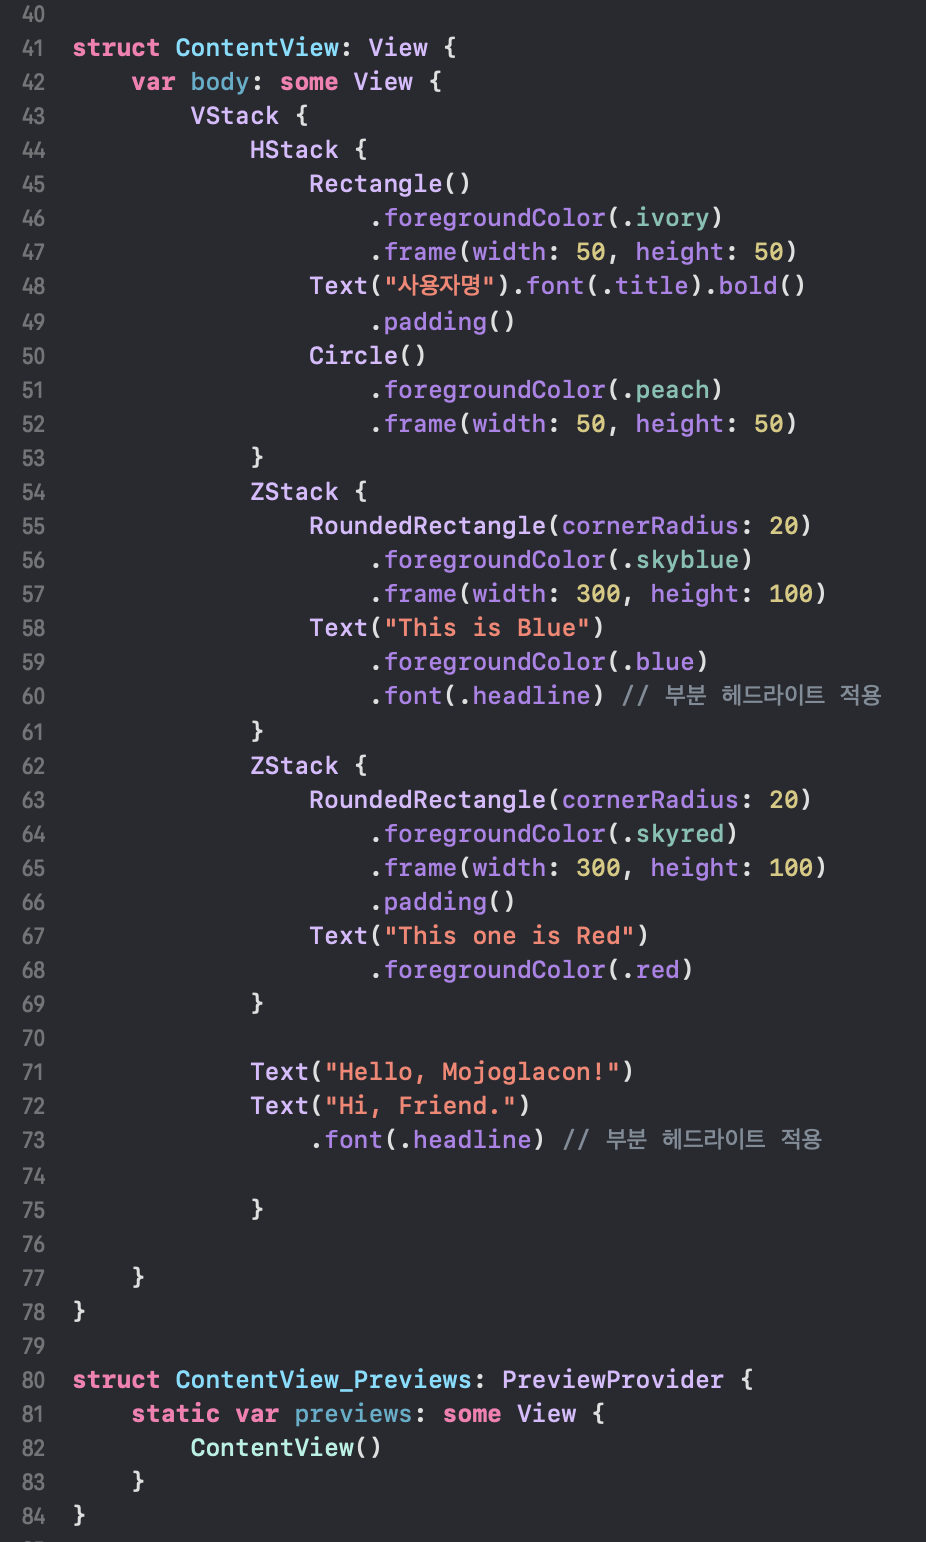
3. 부분 헤드라이트 적용 예시
struct ContentView: View {
    var body: some View {
        VStack {
            HStack {
                Rectangle()
                    .foregroundColor(.ivory)
                    .frame(width: 50, height: 50)
                Text("사용자명").font(.title).bold()
                    .padding()
                Circle()
                    .foregroundColor(.peach)
                    .frame(width: 50, height: 50)
            }
            ZStack {
                RoundedRectangle(cornerRadius: 20)
                    .foregroundColor(.skyblue)
                    .frame(width: 300, height: 100)
                Text("This is Blue")
                    .foregroundColor(.blue)
                    .font(.headline) // 부분 헤드라이트 적용
            }
            ZStack {
                RoundedRectangle(cornerRadius: 20)
                    .foregroundColor(.skyred)
                    .frame(width: 300, height: 100)
                    .padding()
                Text("This one is Red")
                    .foregroundColor(.red)
            }

            Text("Hello, Mojoglacon!")
            Text("Hi, Friend.")
                .font(.headline) // 부분 헤드라이트 적용

            }

    }
}

struct ContentView_Previews: PreviewProvider {
    static var previews: some View {
        ContentView()
    }
}

4. 전체 헤드라이트 적용 예시
큰 스택 바로 아래에 헤드라이트 적용시 전체가 적용됩니다.
struct ContentView: View {
    var body: some View {
        VStack {
            HStack {
                Rectangle()
                    .foregroundColor(.ivory)
                    .frame(width: 50, height: 50)
                Text("사용자명").font(.title).bold()
                    .padding()
                Circle()
                    .foregroundColor(.peach)
                    .frame(width: 50, height: 50)
            }
            ZStack {
                RoundedRectangle(cornerRadius: 20)
                    .foregroundColor(.skyblue)
                    .frame(width: 300, height: 100)
                Text("This is Blue")
                    .foregroundColor(.blue)
            }
            ZStack {
                RoundedRectangle(cornerRadius: 20)
                    .foregroundColor(.skyred)
                    .frame(width: 300, height: 100)
                    .padding()
                Text("This one is Red")
                    .foregroundColor(.red)
            }

            Text("Hello, Mojoglacon!")
            Text("Hi, Friend.")

            }
        .font(.headline) // 부분 헤드라이트 적용
    }
}

struct ContentView_Previews: PreviewProvider {
    static var previews: some View {
        ContentView()
    }
}